As they say it: cluttered desk; cluttered mind! And we agree 100%. Numerous studies have shown that we tend to lose focus, experience decreased productivity, and lose too much time on task completion if we have a cluttered workstation. One unnecessary distraction is having multiple papers waiting for our signature or to be sent to recipients. Today, we have a wide array of digital solutions to help you keep your desk tidy and your mind sharp.
We’ll show you how to stay on top of the game by providing you with a clear overview of how you can sign your PDF documents on your iPad quickly and easily. We have another guide to signing documents on iPhone devices.
3 Simple Ways to Sign PDFs on iPad
Signing contracts has never been easier. If you’re ready to streamline the document management and signing process, we’ll show you how to do this quickly from your Mac device. Ready? Let’s go!
Signaturely
Signaturely is one of the best free document signing apps to help you easily create digital signatures. This tool will help you organize and accelerate the document signing process, and it comes with the advantage of a free trial period.
We love this software because it can run on iOS or Android devices. You need a stable internet connection and an installed browser to access it.
To electronically sign documents with Signaturely, you need to go to their website and log in to your account. If you don’t have an account, you’ll have to register for one.
Once you’ve logged in to the app, you can choose to create documents that need your digital signature, your signature, or other people’s signatures.
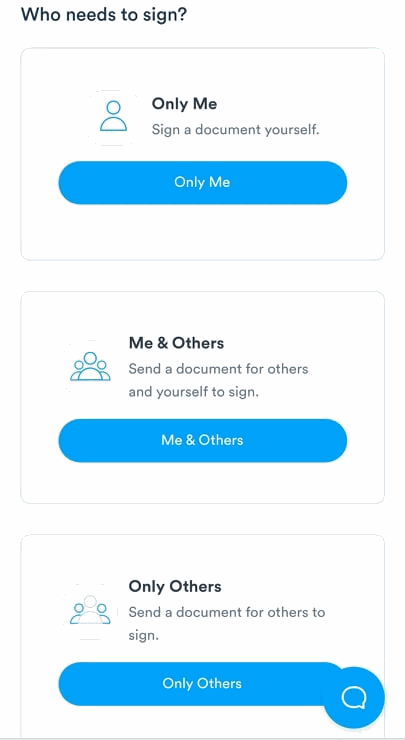
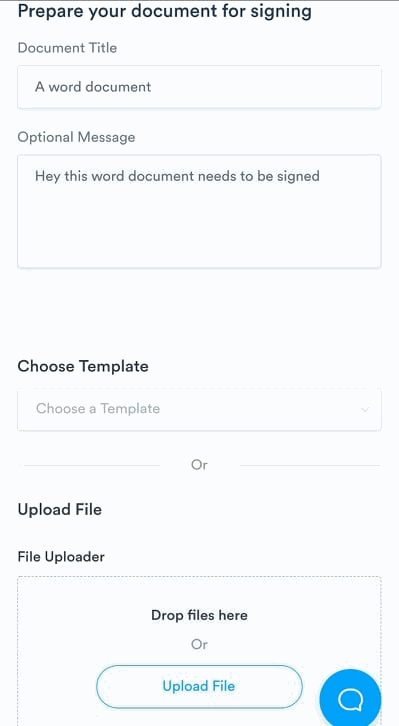
After selecting the option that matches your requirements, you’ll have to name a document, add a message if needed, fill out the recipient’s list, and upload a file from the device or the cloud storage of your choice.

After uploading a PDF document, you’ll have to tap on the “Sign” box in the upper left corner.
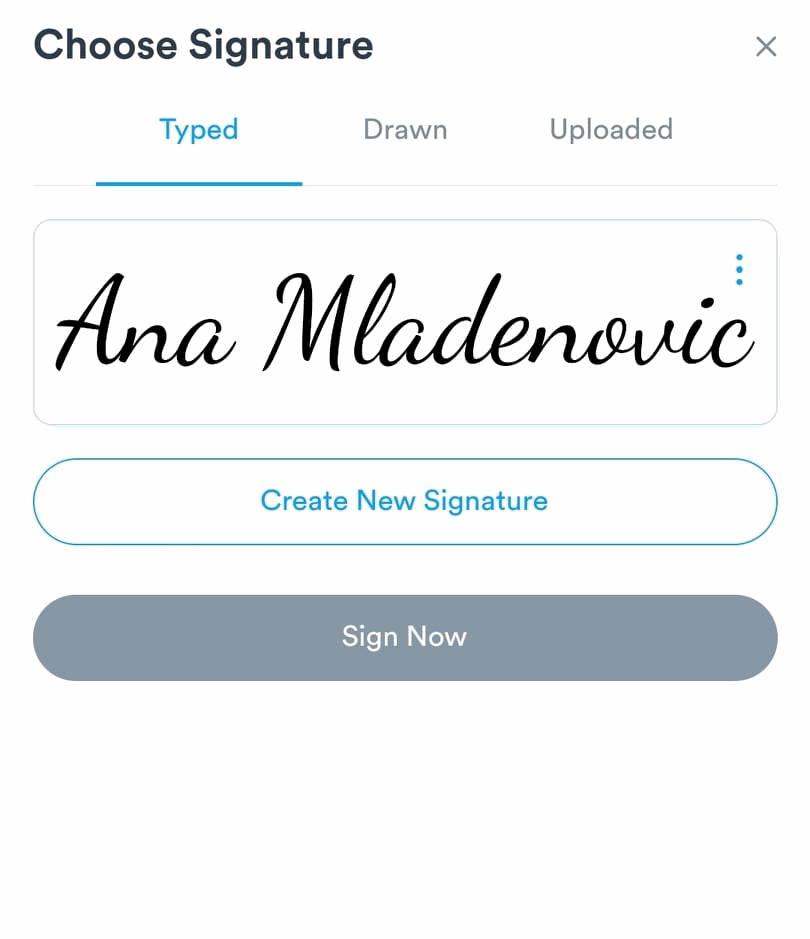
This is where you can create your signature by typing, drawing, or uploading a picture. Next, you’ll save the signature, tap anywhere in the PDF to place it, and tap the “Sign” button.
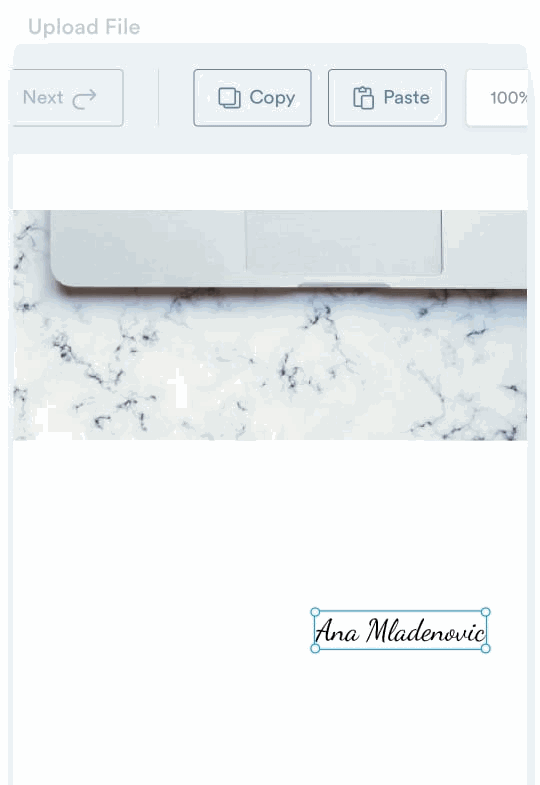
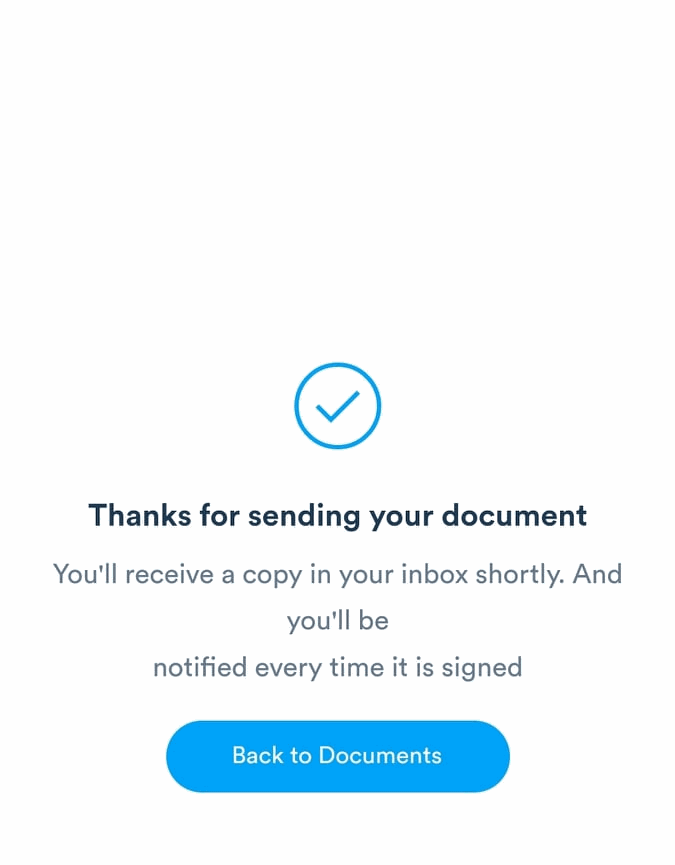
Once you’ve completed all these steps, you’ll have to tap on “Send” to complete the process.
Pros:
- Easy to use
- It has a free trial period
- Compatible with iPhone or iPad
- Free signature maker online
Cons:
- No mobile app is available (but still usable on mobile devices)
Adobe Fill & Sign
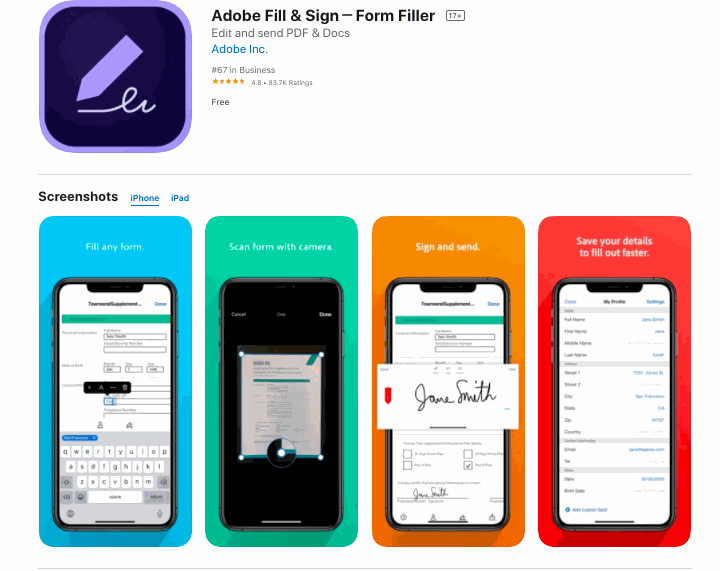
The Adobe Fill & Sign app is compatible with iOS devices and can help you create digital signatures quickly and easily.
You first need to download the Adobe Fill & Sign app from the App Store, log into your account (or create one), and start signing your documents.
This app also has a free trial version you can use until you choose to switch to a paid plan.
After installing the app, all you need to do to sign a document electronically is tap on a PDF document that needs to be signed and open it in Acrobat.
Then, tap the Fill & Sign button, and choose between three options for creating an electronic signature: drawing it, placing an image of it, or typing it.
To place your signature within a document, find and tap the “Apply” button, and you’re ready!
Pros:
- Easy to use
- Free trial period
- Compatible with iPad and iPhone
Cons:
- The app takes up a lot of storage space
Mail App + Markup
We love Apple products like the iPhone and iPad because they’re innovative and constantly ahead of the times. No wonder they have so many satisfied customers!
We appreciate that Apple devices allow users to digitize their signatures.
If you have a Mac, iPhone, or iPad, you can create your digital signature by opening any saved PDF and searching for the “Share” icon. Once you find it, select the “Markup” icon, tap on the “+” sign, then tap on the “Signature” option.
Choose the “Add or Remove Signature” button, tap on the “+” sign, and create your digital signature.
Next, you want to place the digital signature within the document and tap “Done” to complete the process and send the signed documents. Once you’ve created your signature using this method, it will stay on your iCloud account so you can use it on your iPhone or iPad.
Pros:
- Easy to use
- Quickly makes new signatures
- Compatible with iPhone or iPad
Cons:
- It doesn’t have a document management system
SignNow
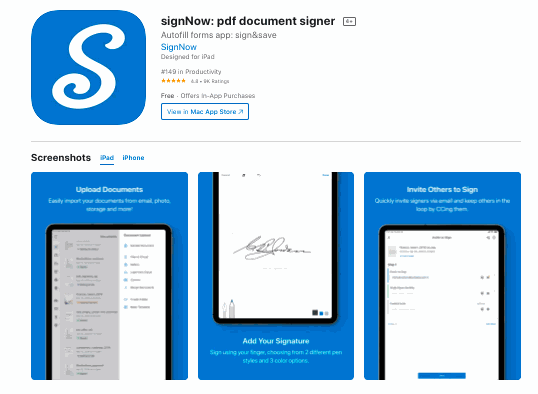
SignNow is another great eSigning option. This software is compatible with iOS and Android operating systems, making it super attractive, especially for those who use multiple devices to run their business.
The installation is seamless; you must download the app from the App Store and create an account. You can choose to try out the free trial period before switching to a paid plan.
To sign PDFs on an iPad via signNow, you’ll need to upload your document from your device or a cloud storage service. You can customize documents in the app using the PDF editor feature.
To create a signature, open a PDF document, and select the “Signature” option. Once you fill out the information, you can place a signature by tapping anywhere in the document and clicking the “Done” button to complete the process and send the signed document.
Pros:
- Easy to use
- It has a free trial version
Cons:
- It takes up space on your device
Bonus: Check out our signNow vs. DocuSign article.
Adobe Acrobat Reader
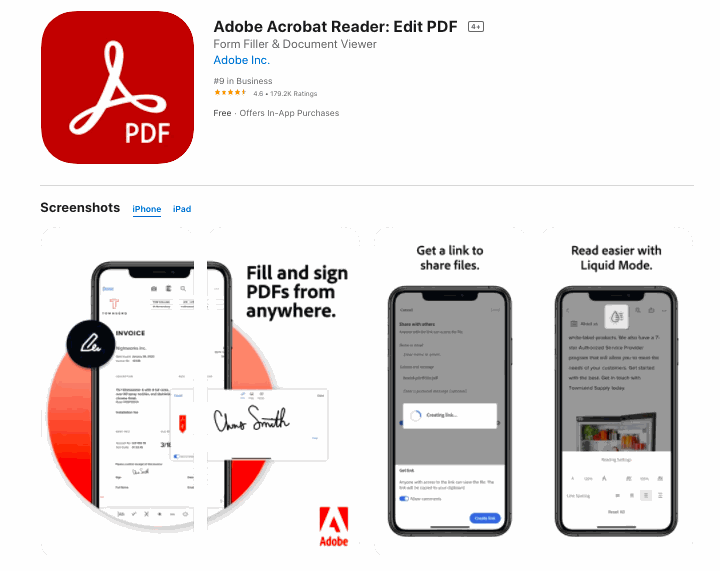
If you choose Adobe Acrobat Reader as your preferred document-signing app, you’ll appreciate the seamless document-signing process.
You’ll first need to install the software from the App Store and sign in.
Then, you’ll have to create a signature by tapping on the “Edit” icon and choosing the “Fill and Sign” option. Select the “Sign” button, and choose one of three options: draw the signature, import an image of it, or capture your signature’s image in the app. Once you choose your preferred method and create a signature, tap “Done” to complete the process.
Placing a signature with this app is a breeze! All you have to do is to select the “Edit” option, choose the “Fill Sign” icon, and click “Sign.” After completing these steps, tap on your signature, and place it in the document.
Pros:
- Easy to use
- Compatible with iPhone or iPad
Cons:
- Pricey
Further Questions and Answers About How to Sign a PDF on iPad
Signing PDF documents on your iPad is a straightforward process. You must pick and choose the signing method that fits your needs, and forget about pen and paper.
Signing a PDF on an iPad is an easy process. An advantage to Apple products is that they already have an integrated solution for eSignatures within the app. However, if you need a more robust document management solution, you can choose from a wide variety of tools on the market. We’ve listed our favorites in this article.
Yes, you can write on a PDF using your iPad. However, you’ll need to install an app with a PDF editing feature to do so. We’ve already listed some apps that include this feature to make it easy.
There are free options to sign PDFs on iPad. Some work on a free trial period, while others offer a free plan with an option to upgrade to a paid one.
How to sign a PDF on iPad: Conclusion
Digitization, here we come! Even though we might miss handwritten letters and cards, we won’t miss piles of documents on our desks. Nor will we miss carrying heavy handbags filled with important documents that need to be signed. We can choose from a wide array of digital tools to help us streamline our workflow and be as productive and efficient as possible.
