Doing business in the 21st century means working online and constantly communicating with people around the globe. And while digital work means greater freedom, sometimes we might feel stuck regarding bureaucracy. If you operate globally, you might wonder what’s the most efficient way to sign your contracts online. To help you out, we decided to provide you with a detailed guide on how to sign a PDF on Android devices using PDF signing software.
Here’s How You Can Sign a PDF on Android Phones with Signaturely
If you asked us to describe how we manage our daily commitments in one word, we would say “multitasking.” We do plenty of things on the go, signing PDF documents, and we will show you how you can also do it — for free!
Signaturely
Signaturely is one of the most practical PDF signing tools on the market. Compared to its competitors, its ease of use and efficiency make the PDF signing process a breeze.
However, unlike other tools in the market, Signaturely doesn’t have a separate app. Instead, you can do everything via your phone or computer’s web browser.
Here’s how to sign a PDF on Android using Signaturely.
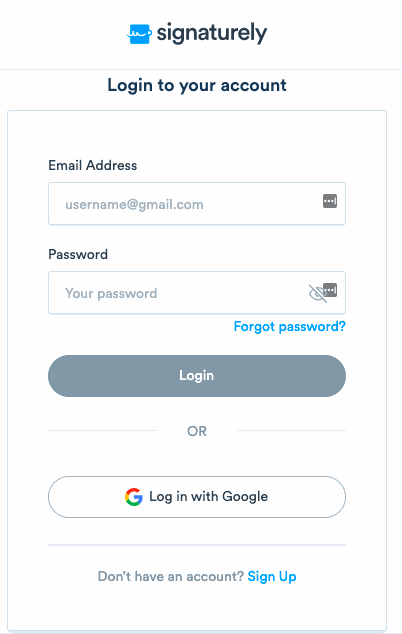
If you don’t have a Signaturely account, you can easily create one on your Android device.
Go to Signaturely’s website, and tap the “Free account” icon. Fill in your name, email address, and password to create the account, and check your email for account confirmation. Once confirmed, you can use Signaturely on your PC and mobile device.
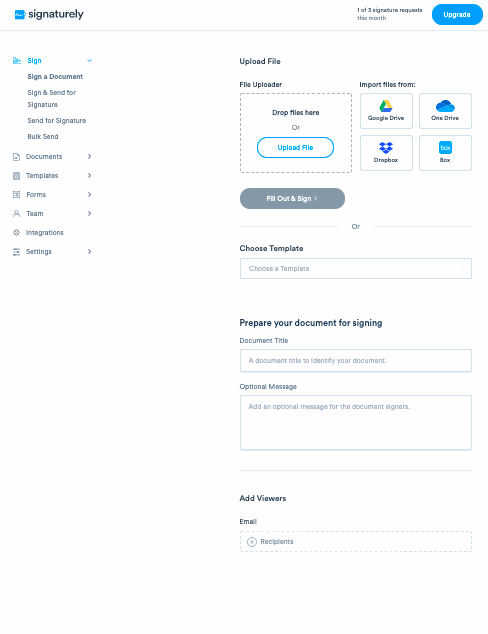
Signaturely’s dashboard is intuitive and easy to use, so we have no doubt you’ll quickly find your way around it.
On the home screen, you’ll be presented with three options:
- Upload PDF documents only if you need to sign.
- Upload PDF documents that you and others need to sign.
- Upload PDF documents that others need to sign.
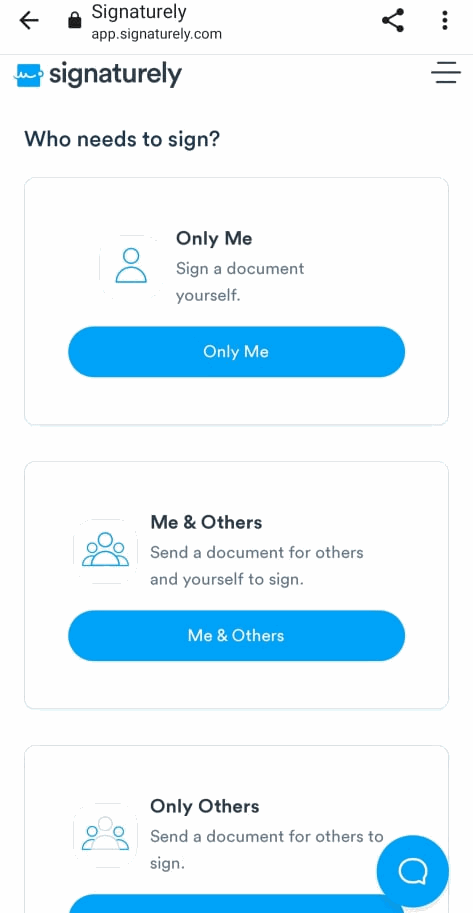
You can choose the option based on your needs. For this purpose, we selected “Only Me.”
Once you’ve chosen your preferred option, you’ll be transferred to a new window where you’ll have to do the following:
- Type the name of the file.
- Add a message for potential signees.
- Upload the file you need to sign or have signed.
You can import documents directly from your phone or choose from Google Drive, One Drive, or Box to upload them.
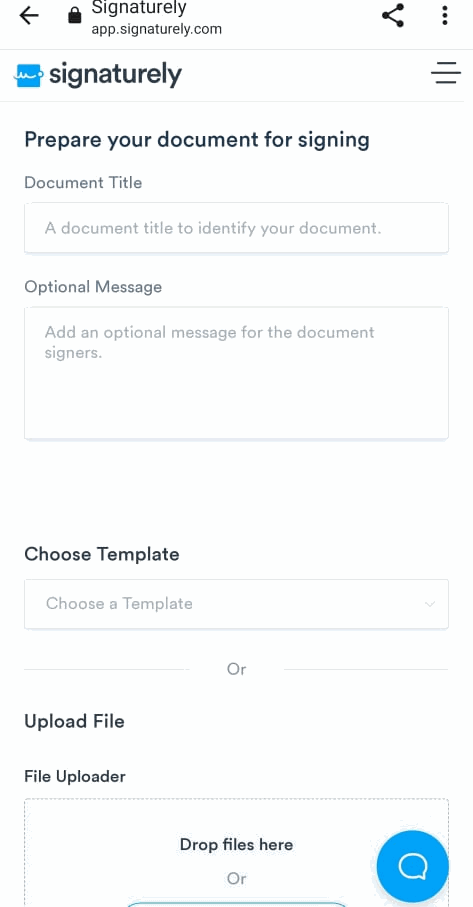
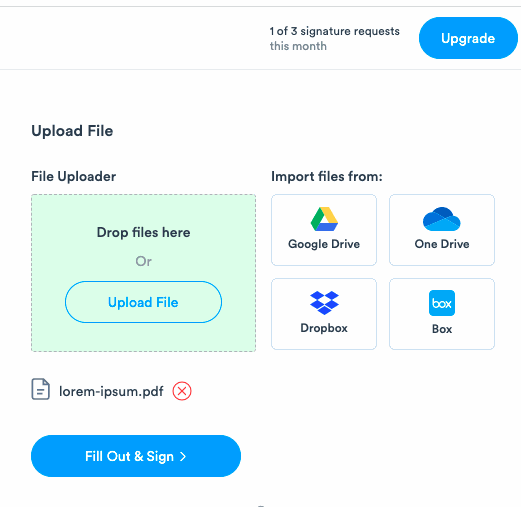
Uploading a PDF takes seconds, and once it’s uploaded, you’ll have to tap on the “Fill and Sign” button to add your signature.
You’ll see the option for creating a signature in the upper left corner. Tap on it to complete the process.
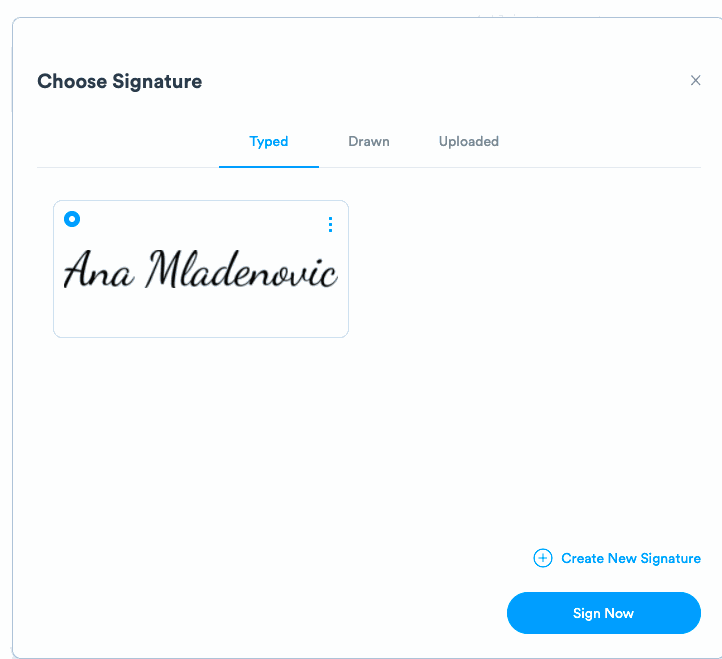
You can choose to type your signature, draw it, or upload a photo of it.
Select a space on the document and tap the “Sign now” button. Then tap on “Complete the process” to get your PDF ready.
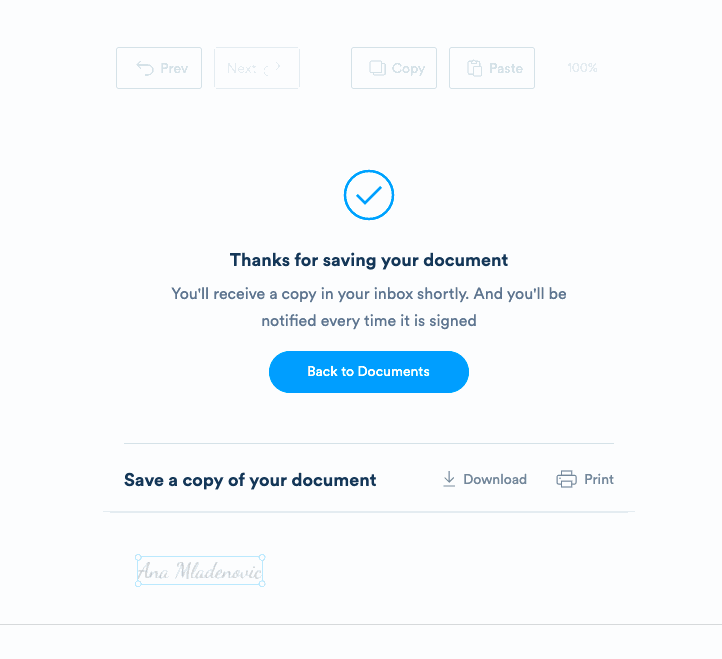
If you choose the option where only your signature is needed, you can save and download the PDF on your phone.
Pros:
- Easy to use
- Free plan
- Several signature options
- Intuitive
Cons: The app isn’t available for use yet
How to sign PDFs on Android with Acrobat Reader
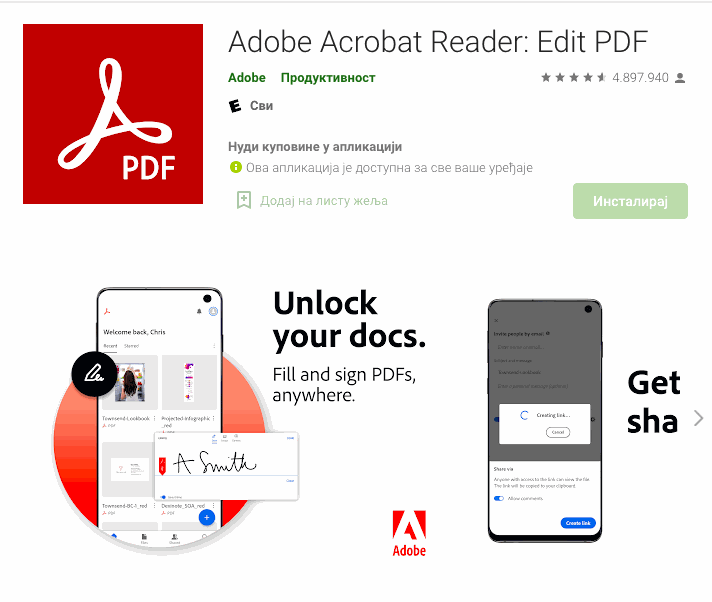
Signing a PDF on your Android via the Adobe Acrobat Reader application is straightforward. If you choose to try Adobe Reader, you’ll need to download it from the Google Play store.
The app itself won’t take up too much space on your phone.
Once you finish downloading the app, the setup window will open. You’ll need to enter your information to register and sign your documents.
Then select the PDF you want to sign straight from the app, or click on the PDF on your phone and open it with the Adobe Acrobat Reader app.
Once you’ve opened the document, you need to sign in to Adobe Reader, find the pen icon at the bottom right corner, and click on the “Fill & Sign” button.
Then select the “Create Signature” icon, and you’ll be redirected to create a signature using your finger or a stylus. Once you’ve done this, tap on the “Done” icon.
Next, tap the fountain pen button again, and tap on your signature. When you do this, you’ll be able to place the signature anywhere in the PDF.
To complete the process, click the check sign in the upper left corner, save your file, and export the PDF via email, text, or other.
Pros:
- Easy to use
- It doesn’t take up too much space on the phone
Cons:
- Some countries cannot access the tool. Here’s how to sign a PDF without printing it.
How to sign a PDF on Android with Adobe Fill & Sign
Adobe Fill & Sign will work seamlessly on your Android. Search the Google Play Store app for the Adobe Fill & Sign app and install it on your device.
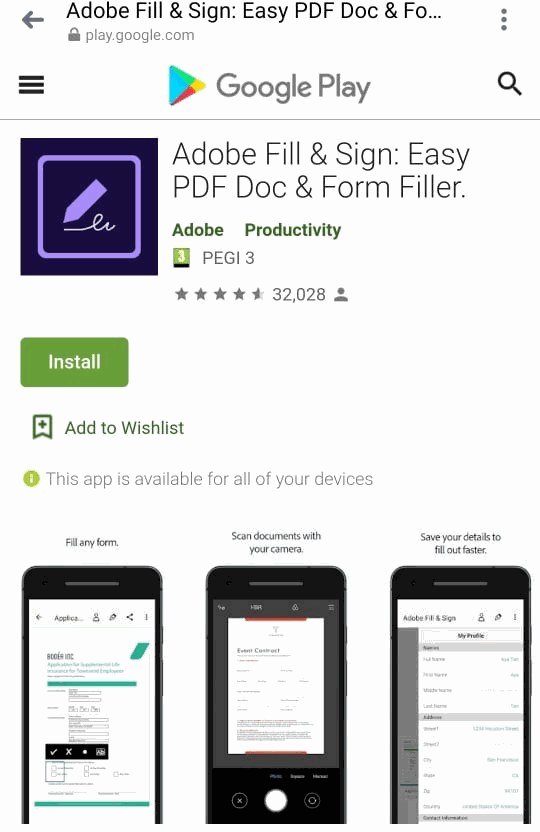
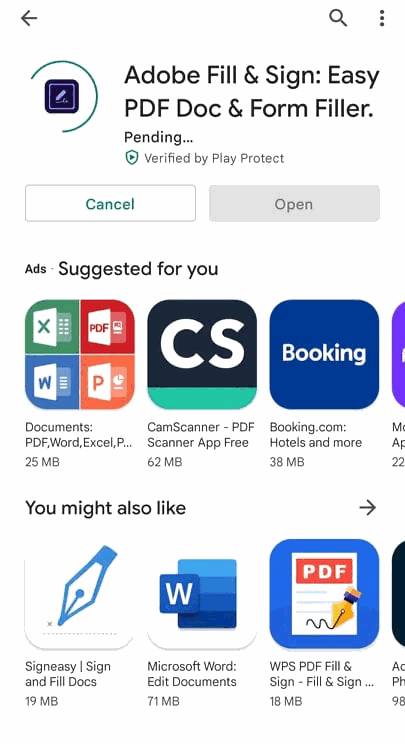
It only takes a few seconds to download the app. You’ll then be redirected to a sign-in page. You can choose to sign in with your Google, Facebook, or Apple account.
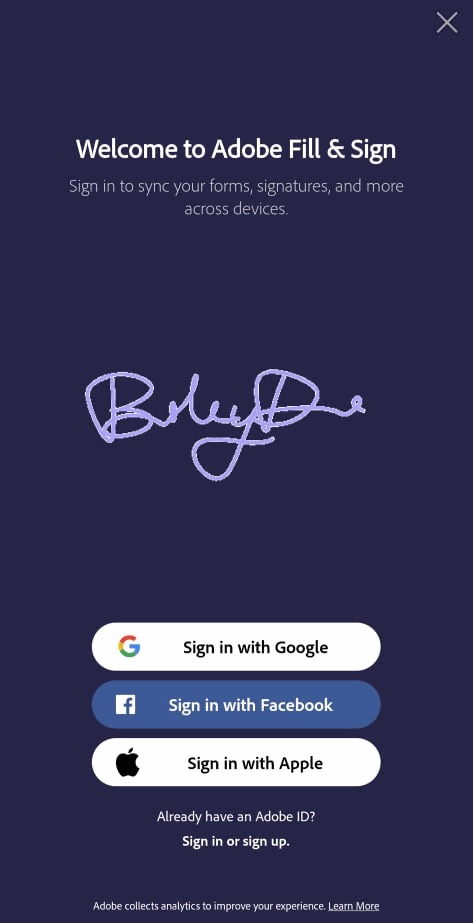
We didn’t like that after signing in with Google, we still had to fill in our birth date information, even though this information was already available.
Once in the app, you can upload a new PDF file from your phone or scan a physical document directly with the Adobe Scan option.
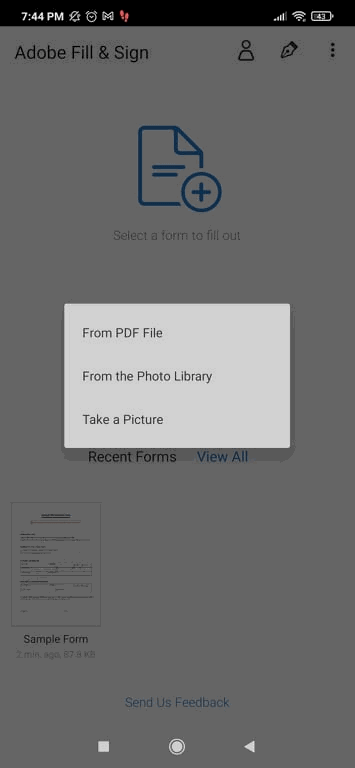
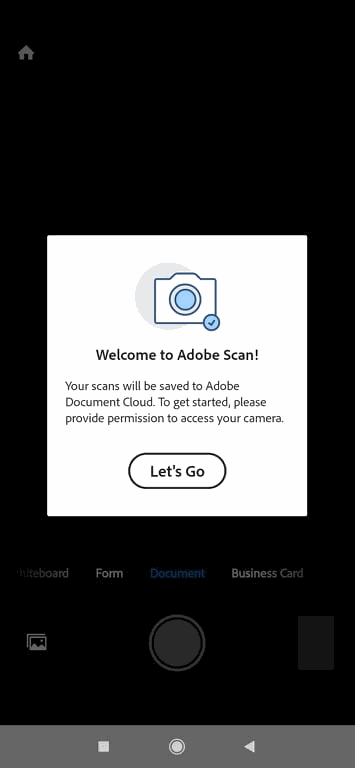
If you choose to upload a PDF, you can make custom fields anywhere in the PDF by simply tapping anywhere on the screen.
To create a signature, you’ll have to tap on the fountain pen button in the upper right corner of the app and choose to either use your initials or a full signature.
We opted to create a signature, and a screen popped up where we could sign using our finger or a stylus. We filled the box and clicked on “Done.”

After creating a signature, you need to tap on the screen and tap the fountain pen icon again, and your signature will appear on your PDF. You can drag it and place it where you like, and it will be automatically saved.
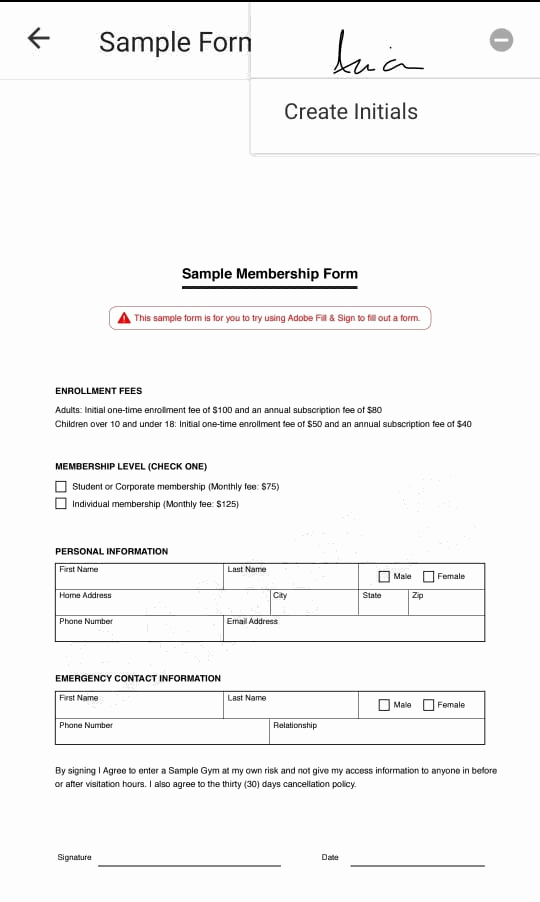
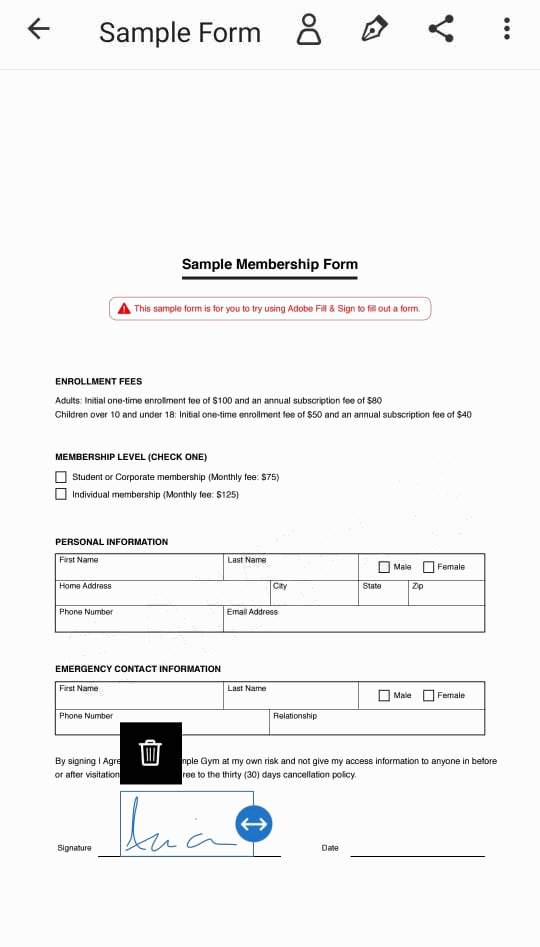
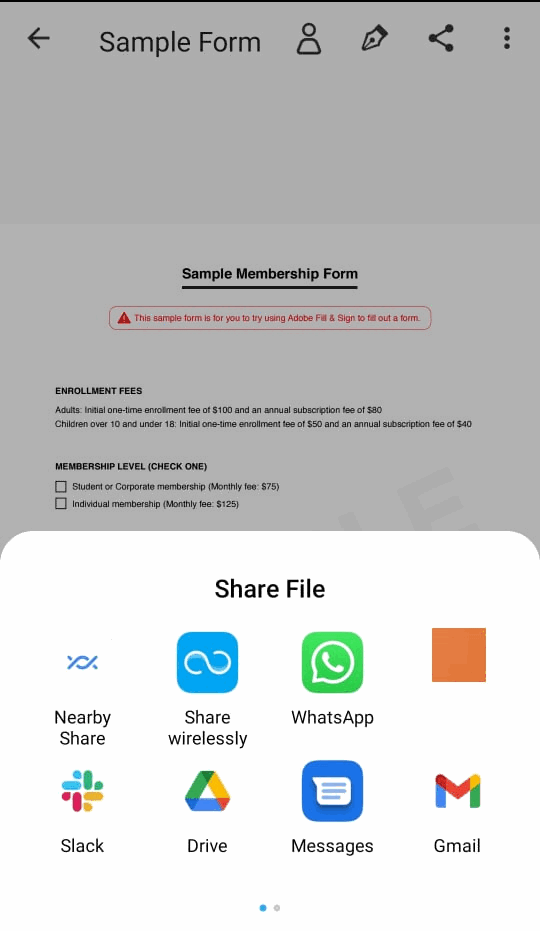
You can share your signed PDF by tapping the icon next to the fountain pen and saving it. Then choose to send your documents for signing via Slack, email, etc. You can also print it if needed.
Pros: Easy to use
Cons: The registration has unnecessary steps
SignNow
Signing documents on your Android phone is fairly easy with the SignNow app. Besides phones, you can sign documents using any device — including a tablet. Here’s how to do it.
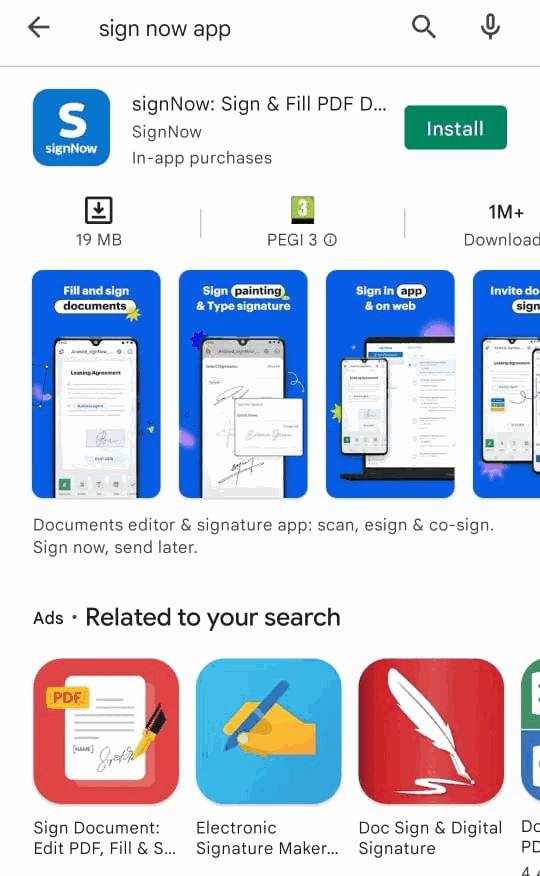
Search for SignNow in the Google Play store on your Android device, download the app, and open it. The installation takes seconds, and it only takes a few more quick steps to start signing documents.
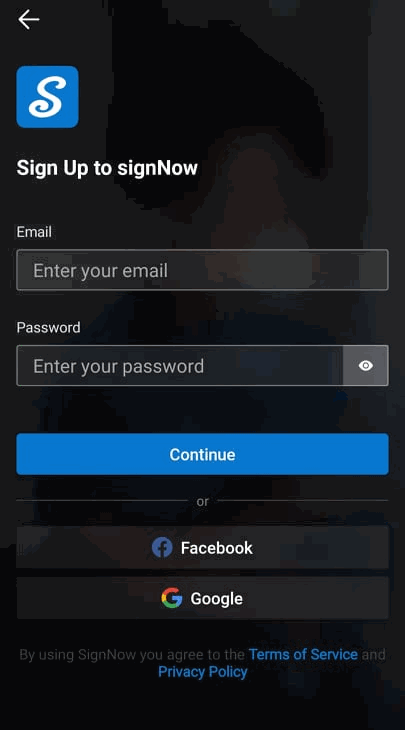
Once you open the app on your phone or tablet, you need to log in by entering your username and password. If you don’t have an existing account, you must register by using your email and creating a password or logging in with your existing Google or Facebook account.
We prefer logging in via your accounts since it saves time and fuss about remembering different passwords.

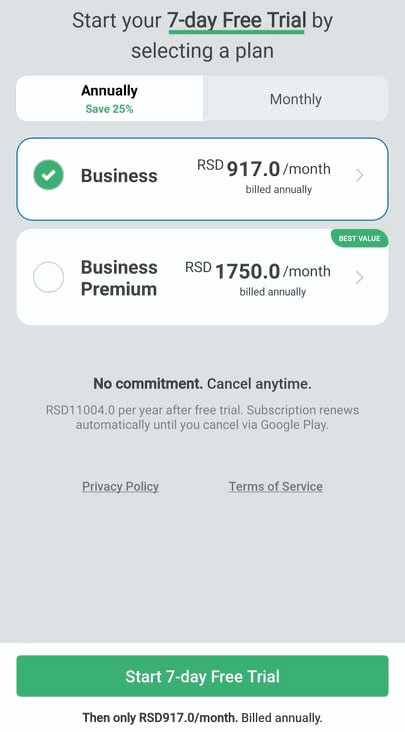
If you don’t have a SignNow paid plan, you’ll have the opportunity to sign up for a 7-day trial period that will help you decide whether you want to continue using it or not.
It’s important to mention that you must choose from one of two paid plans before starting your free trial period. You won’t be charged during the 7-day trial period; however, if you don’t cancel before the trial period ends, you’ll be charged after it ends via your Google Play account.
Once you finish the login/signup process, you can easily manage your documents and signatures inside the app. If you don’t have any documents, you’ll need to upload them to the app by clicking the plus button in the right corner.
The app allows you to seamlessly browse through your documents via its search feature and choose the one you want to work on.
If you already have an account, you’ll be able to see your document’s status by clicking on the three vertical dots next to every document on the home screen.
Suppose you want to see the history of actions on a specific PDF. In that case, you’ll need to tap on it, and you’ll be presented with various options, including a document editor, sharing, signing, downloading feature, etc.
Once you’ve set everything up and uploaded the document you want to edit, select it, and click “Open” in Editor. Then you can add annotations or fillable sections and elements to the PDF.
If you want to sign a document, you need to select the “Sign Document” button, tap on the fillable fields so you can start filling them and add your eSignature.
Send a document for signing by tapping on it and selecting “Invite to Sign.” Enter the email addresses of your recipients, assign signing roles, set a signing order, and configure signer notifications. When finished, hit the Send button to email your signed PDF document. You can later print it if needed.
Pros: Easy to use
Cons: You need to subscribe to the paid plan before trying out the free version
Summary: Everything You Need to Know About Signing PDFs on Android Devices
eSigning apps are pretty intuitive and logical. Most of them will ask you to draw your signature on the screen as you would while receiving your mail, for instance. That way, you’ll create something authentically yours with full legal power.
Writing on a PDF file from your Android phone isn’t a straightforward process. You won’t be able to do it unless you install an app allowing you to do so. Luckily, there’s a wide array of free apps you can download from the Google Play Store, such as PDF Element, Write on PDF App, and PDF Max.
To sign PDF documents on an Android device, choose an eSigning app and install it on your phone (we recommend Signaturely). Most eSigning apps are pretty intuitive, and you won’t have any problems learning how to sign a PDF on your Android. If you aren’t sure how to do this, follow our step-by-step guide.
You can use various apps to write on PDFs using your Android device. The question is, what features will you need, and what best suits you? We did our homework and provided our best picks for eSigning documents. The decision is yours.
Conclusion
Choosing the right eSigning software might be a tedious task. Sometimes having too many options isn’t the best solution, and getting lost in all these available apps is too easy. We hope our guide will help you pick the best software to suit your needs. Which one will you try?
